


How to Gather Ballistics Data for Long-Range Shooting
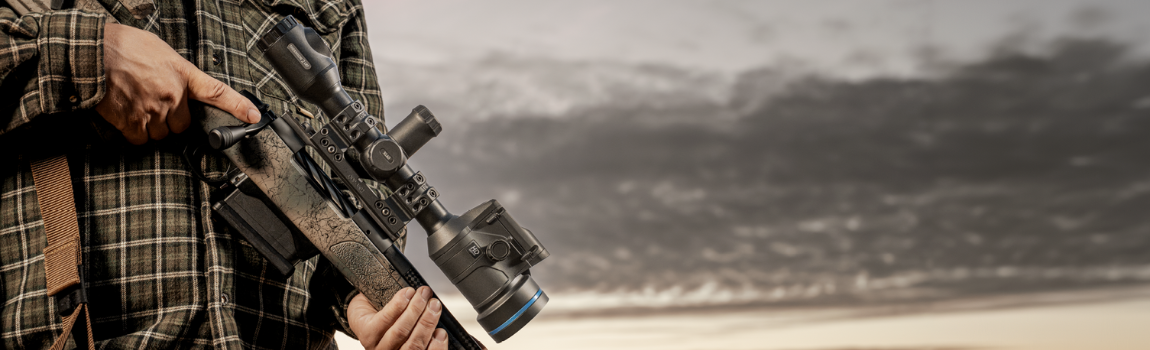
Congratulations!
You’ve just purchased a new rifle along with a fresh optic. Now you’re keen to stretch your legs and shoot at longer distances. But before you start dialling for windage and elevation, there's an important process that needs to take place: collecting accurate ballistic data. This step is vital for ensuring consistent and precise long-range performance.
Assuming your rifle and scope are correctly mounted, it’s time to dive into the essentials of data collection. This groundwork lays the foundation for successful long-range shooting.
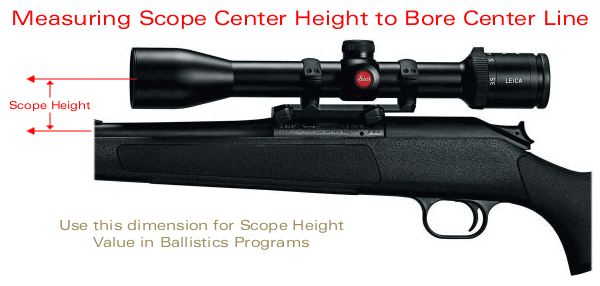
Step One: Measuring Height Over Bore
One of the first measurements you’ll need is the height over bore. This is the vertical distance between the centre of your rifle’s barrel and the centre of the objective of your scope. Accurate measurement here is essential, as even small discrepancies can affect your ballistic calculations.
To measure it, begin by determining the external diameter of your barrel directly beneath the scope’s objective lens. Halve this figure to find the centre of the bore. Next, measure the diameter of your scope’s objective lens and divide that number by two to identify the midpoint of the optic. Then, measure the physical distance between the top of the barrel and the bottom of the objective lens. Once you’ve taken these three measurements, simply add them together. The result is your scope’s height over bore - a crucial figure for your ballistic software.
Step Two: Ammunition and Projectile Data
Once the height over bore has been calculated, it’s time to gather data on your ammunition and projectile. This includes details such as ballistic coefficient (BC), muzzle velocity, bullet weight in grains, and the drag model.
The ballistic coefficient measures how efficiently a bullet overcomes air resistance. It’s usually listed on the projectile box or can be found on the manufacturer’s website - companies like Hornady, Sierra, Lapua, and Federal all publish this information. A higher BC will mean the projectile experiences less drag and slows down less due to less air resistance, leading to a flatter trajectory and less wind deflection
Next, you’ll want to find your bullet’s muzzle velocity. The most accurate way to do this is by using a chronograph, such as the Garmin Xero C1 or the newer Athlon Rangecraft. While factory ammunition typically lists an estimated velocity on the box, these figures are only truly accurate for the rifle used during testing. In practice, your own results may vary - for example, a box might claim 2,600 feet per second, but testing with your rifle could reveal a velocity closer to 2,700 feet per second.
Determining bullet weight is fortunately, much simpler. Just check the box your ammunition or projectiles came in. Common examples include 55 grains, 62 grains, 168 grains, and so on - the figure will always be listed.
As for the drag model, this refers to the method used to define how air resistance affects the bullet’s flight. You’ll often encounter terms like G1 and G7. G1 is more widely used and applies to projectiles with a blunt-nose design, whereas G7 is designed for more aerodynamic, low-drag bullets, typically featuring boat-tail profiles. When entering your ballistic coefficient into a calculator, it’s critical to select the correct drag model to avoid inaccuracies. For example, the Sierra 30 CAL 155 GR HPBT MatchKing has two BC values: 0.450 for G1 and 0.221 for G7. Selecting the correct one ensures your data stays precise.
Step Three: Recording Environmental Conditions
Next, you’ll need to account for the atmosphere around you. Environmental factors can have a substantial impact on your bullet’s trajectory and must be recorded as close to your shooting time and location as possible.
Important variables include wind speed and direction, air temperature, barometric pressure, altitude, and humidity. The most effective way to gather this information is by using a Kestrel weather meter. These devices provide real-time atmospheric data and are incredibly helpful for serious shooters. If you don’t have access to one, you can use local weather services to obtain temperature, pressure, and humidity, but you’ll likely find yourself guessing wind and altitude, the same way Crocodile Dundee guesses the time.
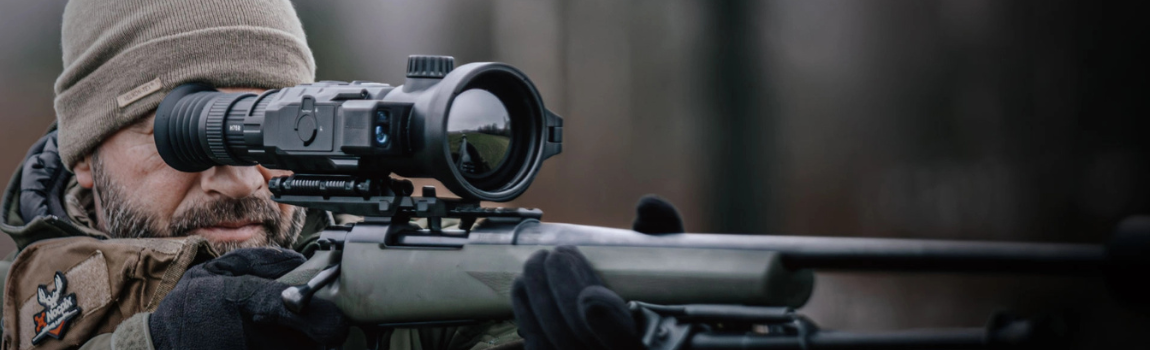
Step Four: Using a Ballistic Calculator
Now that you’ve gathered your rifle, ammunition, and environmental data, it’s time to enter everything into a ballistic calculator. This will generate your firing solutions and help you make the necessary scope adjustments at various distances.
There are several options available. Hornady and Federal both offer free online calculators, which are user-friendly and accurate for most purposes. For those seeking greater customisation and long-term use, the Applied Ballistics app is a premium tool that allows you to save multiple rifle and ammo profiles.
When inputting your data, make sure you’re using the correct units. Always check whether the calculator is asking for feet or metres, feet per second or metres per second, inches or millimetres. Mixing up these measurements is a common mistake that can lead to significant errors in your dope chart.
It’s also worth noting that some data, like your bullet’s ballistic coefficient and weight, will stay the same every time. However, environmental data and muzzle velocity can change depending on conditions, so it’s important to update these figures each time you shoot.
Final Step: Generating Your Ballistic Chart
Once all your information has been entered, your ballistic calculator will generate a data sheet or drop chart. This document outlines the adjustments needed to compensate for bullet drop and wind drift at different distances.
It might feel like a lot of effort up front, but this process ensures that your shooting is informed, repeatable, and accurate. With your data sorted and your dope dialled in, you’re now ready to enjoy long-range shooting with confidence and consistency.
In Summary
Ballistics data collection might seem complex at first, but it’s a crucial part of becoming a competent long-range shooter. The more precise your inputs, the better your results downrange. So, take your time, be thorough, and above all else - enjoy the journey.
Now that the hard work is done...
Happy shooting - and may your groups stay tight!